
Repainting an US M1 Helmet
(If reading isn’t really your thing, your not lone- so here is my Youtube video showing this process https://youtu.be/B5ZhyxqNI7s )
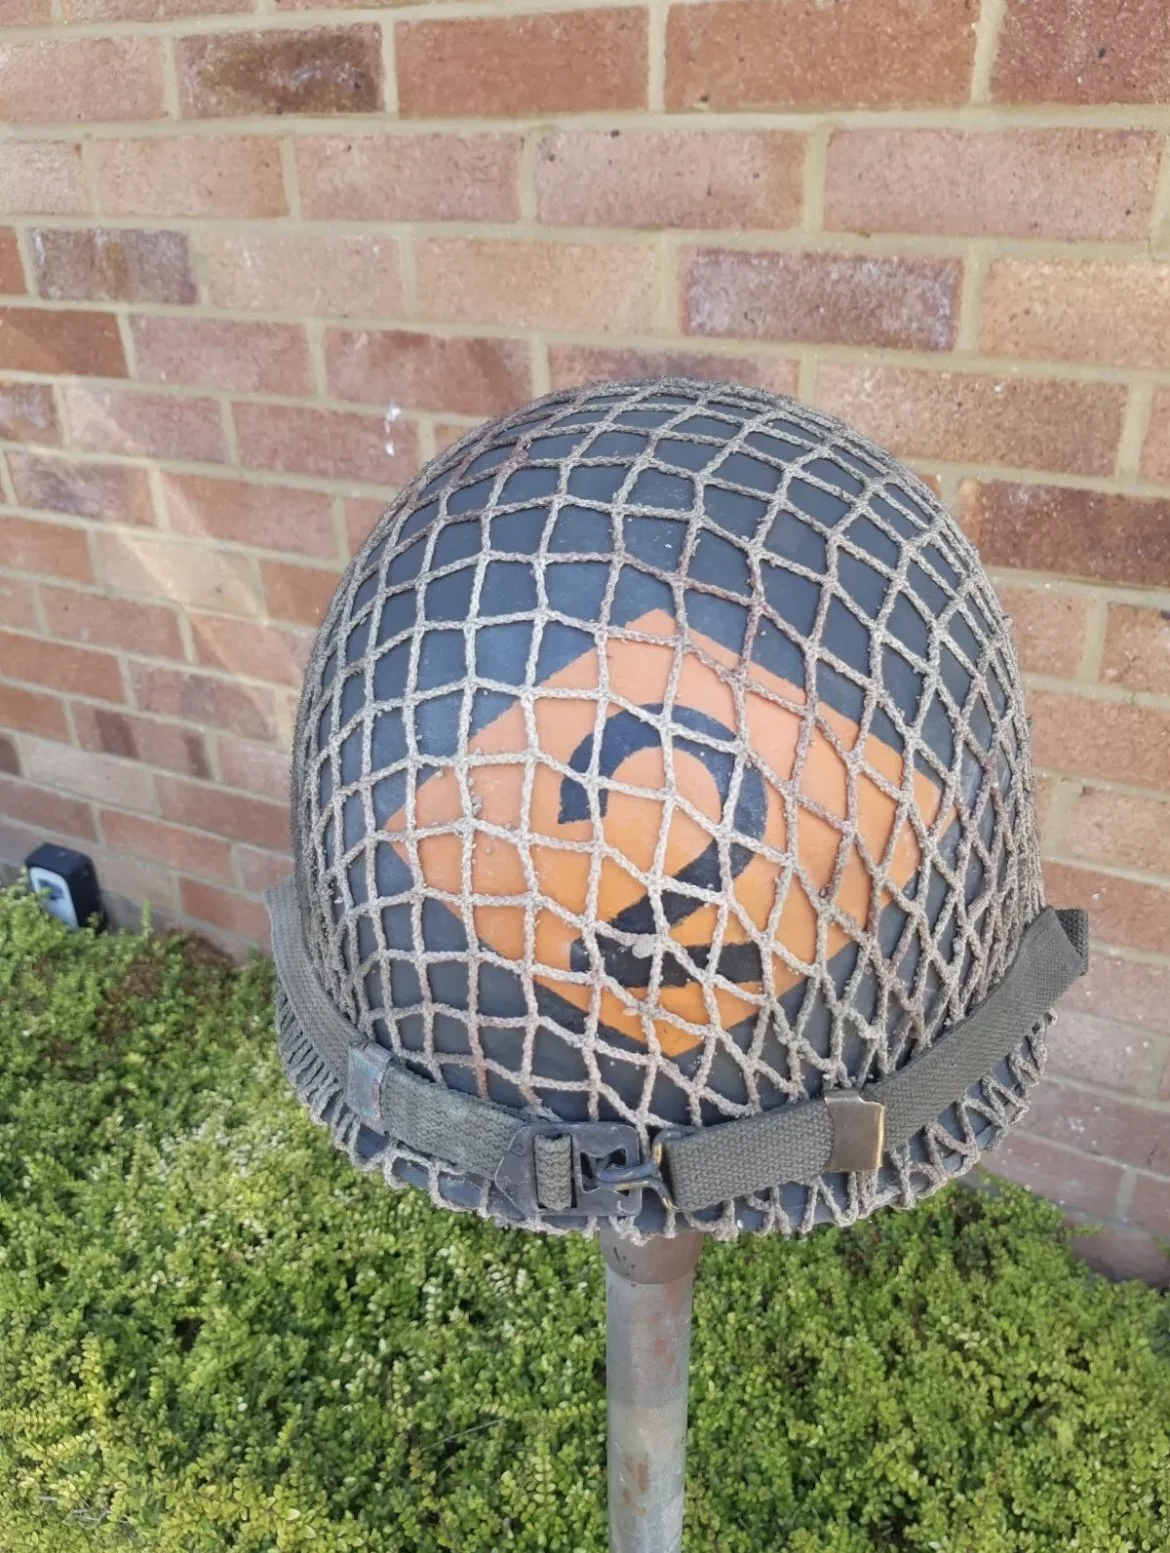
Before
You can’t really go into war without a helmet can you? Even as a non-combatant, like a war correspondent which is what my impression is.
The US had M1 helmets, over 22 million were made by 2 companies the McCord and Schlueter. Without going into to much detail about M1 helmets because there is a lot of detail -front seams, back seams, fixed bails….. which I can do in another post if that something you guys want. Today we’re just going to talk about the painting side of things.
You will need:
an M1 helmet (obviously)
paint- I used spray, Olive Drab 1944 (OD)
Primer paint (I used white so the green shows up better)
masking tape
somewhere to paint
appropriate unit marking (stencils) and the colours to match

sandpapering the old paint off
First things first was to get the original paint off the helmet- mine was painted as the 2nd rangers, so needed that to come off. Some sand paper worked fine, nothing to course as you don’t want to scratch the metal but just enough to take the paint off.
Once the paint was off, the next job was to mask off the bits you don’t want painting like and traps that you can’t get off for example. Then its time to add the primer it so the OD paint had something to stick to. I did a couple of layer of primer so you couldn’t see any of the helmet coming through. Don’t forget to paint the rim, I turned the helmet on its head just so I could to the underneath of the rim.
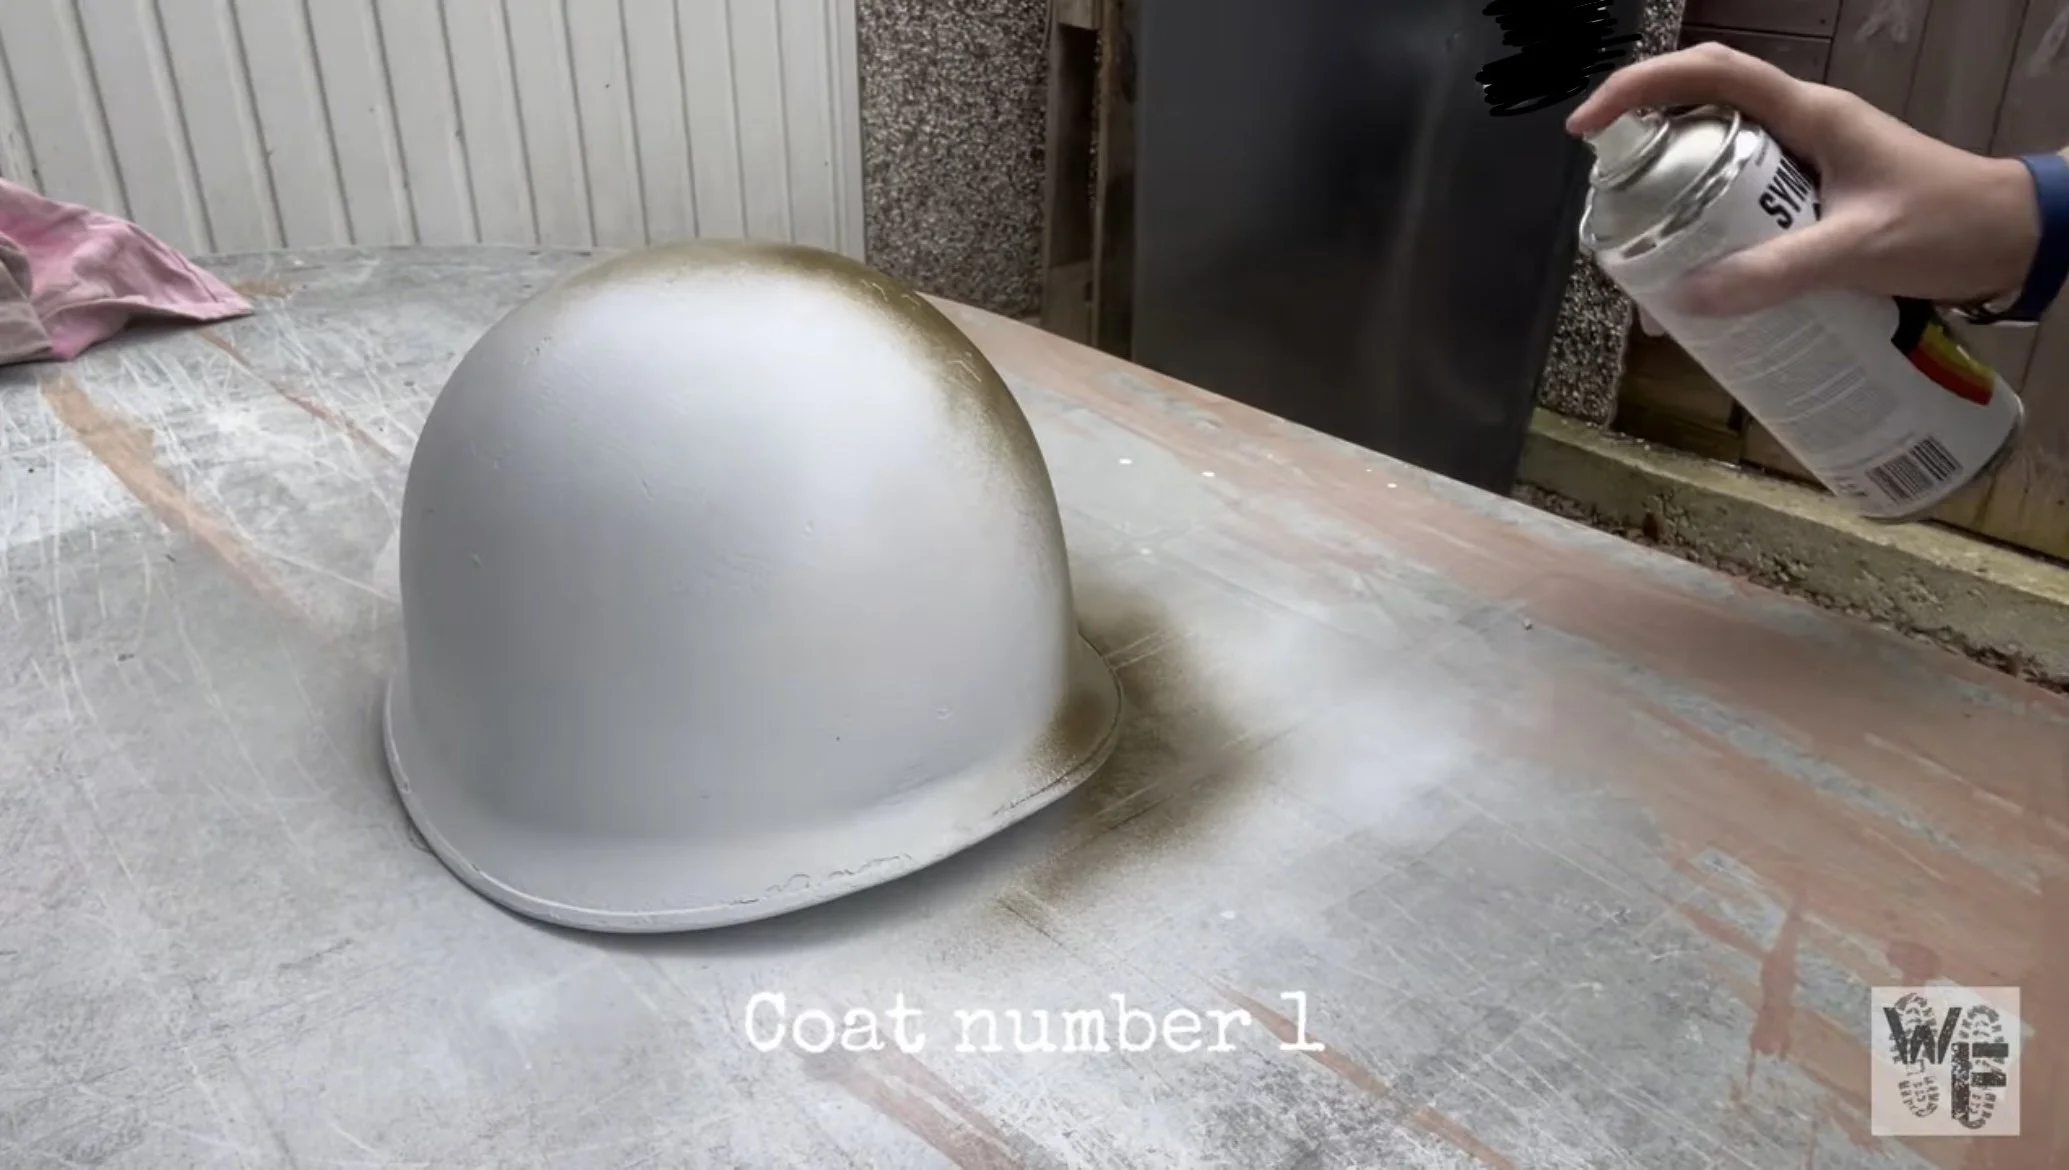
Once the primer coats are dry, its then time for the OD coat. I did around 3 layers of OD as you want to make sure you can’t see the primer come through and if you chip it during a battle or if you drop it then the primer coat isn’t going to come straight though.

white primer being added. 2-3 coast needed
Once the the paint is dry now if the exciting if not tricky part of the process- adding your units insignia. you will have to do the research for your units markings as they are all different, go in different places and each specific rank might have an extra marking. For me, i’m doing a war correspondent so it’s nice and simple. A single war correspondent insignia on the front of the helmet. this could of been done in white or black, some correspondents added what company they worked for on the rear of the helmet eg, yank magazine, life magazine.
Green OD paint going on. again 2-3 coats needed. add more if needed
Now the tricky bit is, the helmet is funnily enough head shaped, so having a flat surface to put the stencil onto it non existent. I tried multiple ways of applying the paint over the stencil and non of them really worked. I tried attaching the bottom of the stencil and painting that then swapping over and painting the top, it tried hand painting it over the stencil with a paint brush and a cotton bud- they didn’t work.
I’d been at it a while come this point so decided to ask in a Facebook group how those guys went about it. some applied the stencil and used sprayed paint, but sprayed it from a distance so by the time it reached the helmet is was just a fine mist and then layered the paint that way. another applied the stencil and the drew round it tight the pencil and then hand painted it, which is what I ended up doing. I brought a white paint pen and the followed the pencil markings, it worked! and looked pretty smart.
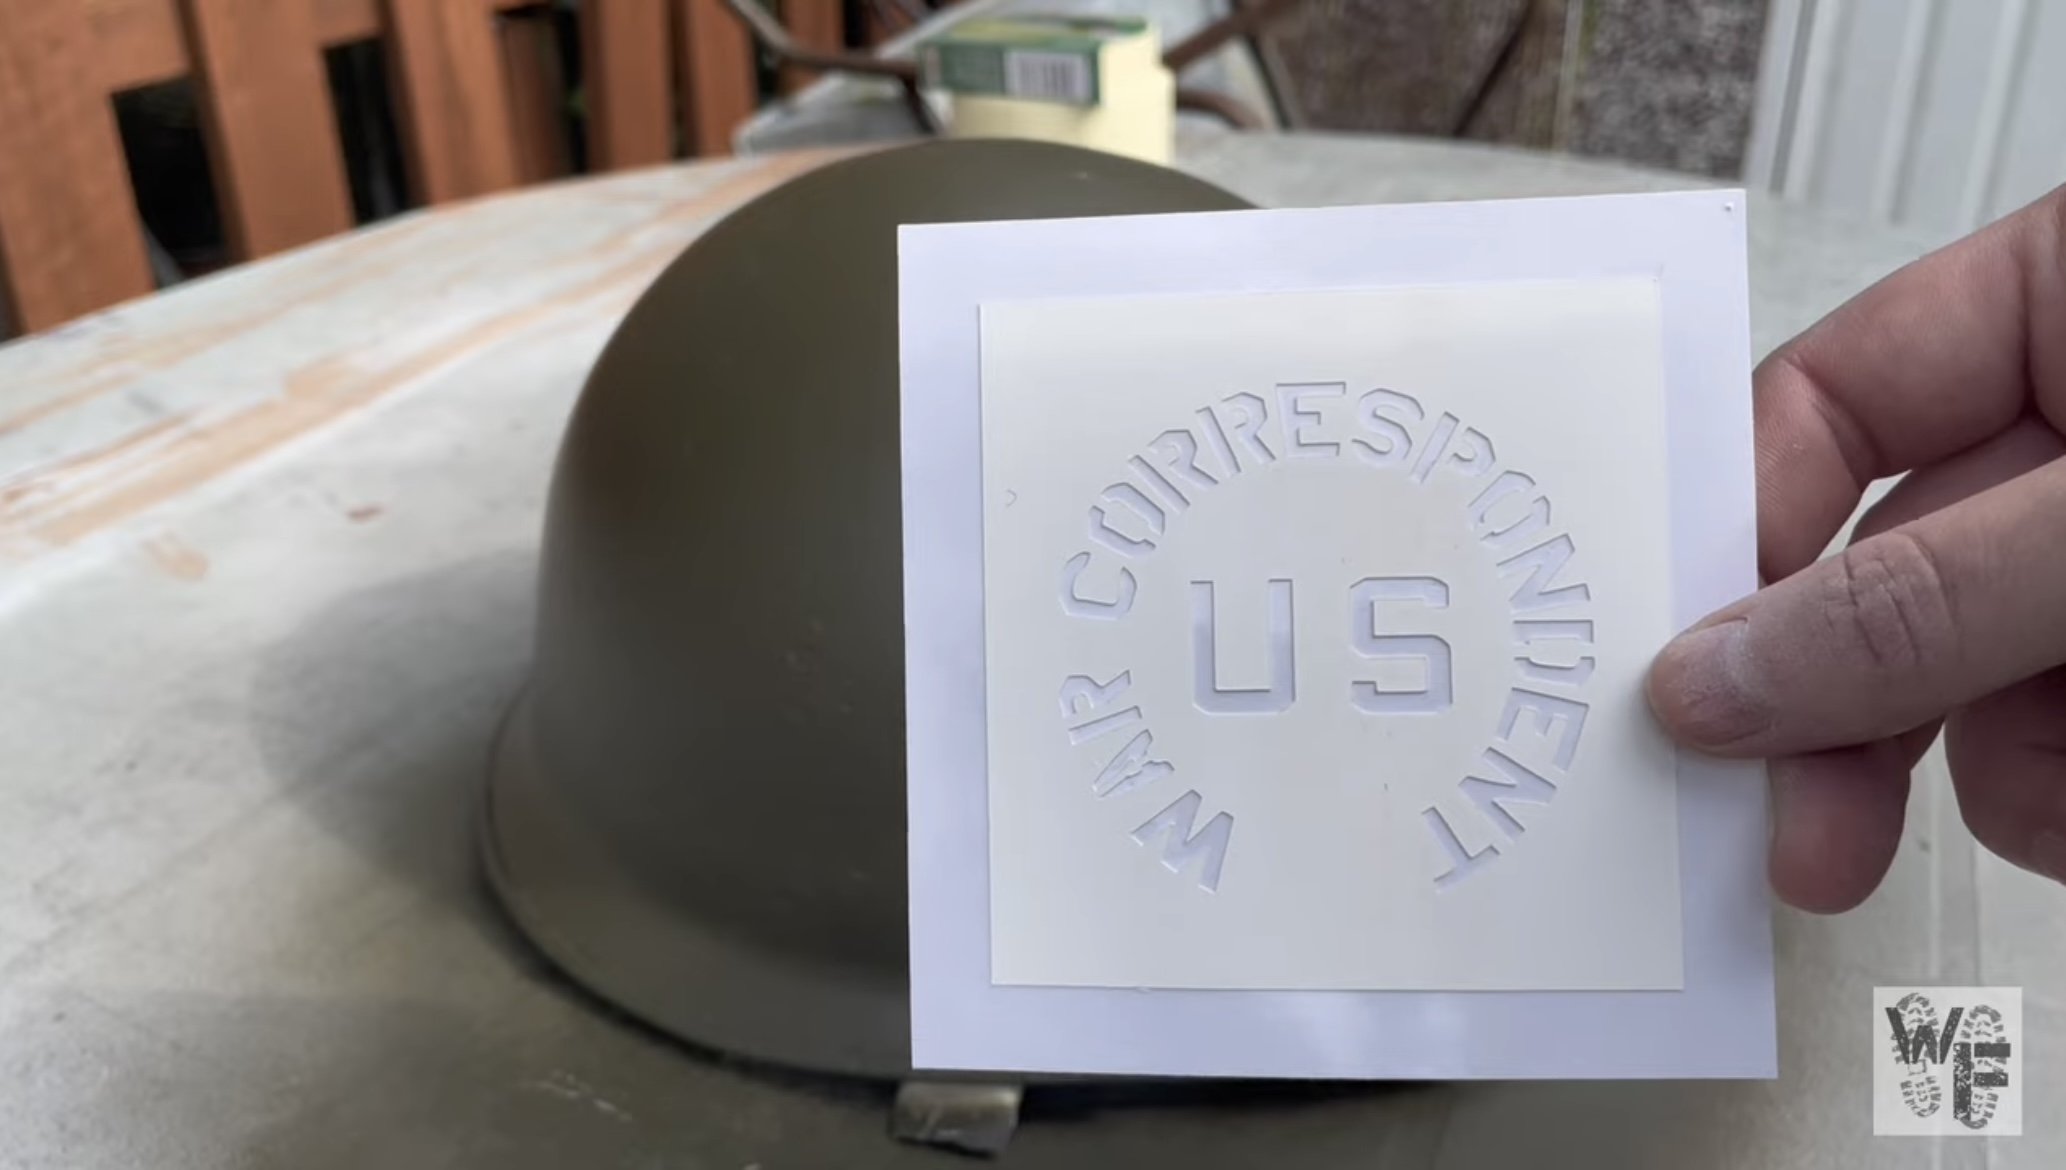
War Correspondent insignia for the front of the helmet.
You will have to use trial and error for what works of your stencil/unit markings, some will find one way easier than another and some stencils will be easier to apply than other. my tip is make sure you get enough green paint in so if you need to redo it then it won’t be a problem paining over the mistakes- its all part of the fun.

The finished product
And there we have it. A finished repainted M1 helmet all ready for the new season of re-enacting.
PS. not quite finished. once it had dried over a few days it looked quite shiny, now shiny helmets during the war generally weren’t a good idea. if a bit of light hits your helmet and gives of a glint you will be spotted and that wouldn’t be good for anybody. my helmet came with a net, but I done really want to put that on having spent so much time getting the stencil right, the net will cover it. another way of taking the shine of it it adding cork, os that what i’m going to do…. once the weather improves, so stay tuned for that update.